Programmatically producing HTML from the command-line
In the previous lesson, we covered some basics about HTML. In this lesson, we won't learn anything new about HTML, but we'll see how we can efficiently produce HTML with the command-line text functions we've already used.
Because the syntax for printf and read can be a bit confusing (on top of the way Bash handles text strings in general), this tutorial is just one example, with 9-different iterations. So take your time to type out the exercises and notice the details. Also, practice your workflow and keyboard shortcuts.
The big picture is that we know how to gather and parse large quantities of structured data (via jq and APIs such as Twitter and Instagram). This lesson is an introduction to how we can write data in a structured format.
In later tutorials, I'll cover stylesheets and JavaScript, so that you can make your pages attractive and interactive. But the main challenge is how to build the pages, quickly and efficiently, in the manner similar to popular frameworks such as Django and Ruby on Rails, but without learning those frameworks or their languages (e.g. Python and Ruby).
Bash and strings
For review, read the guides/sections to:
- Heredocs, which allow for writing longer, multi-line strings
- printf, a more versatile version of
echoas it allows you to specify the format of the text. - read, a common command that, among other things, are useful for working with Heredocs and variables.
We know how to send a heredoc-style string to a file:
cat > file.html <<'EOF'
<h1> Hello Dan</h1>
  <p>
    This is a link you should visit:
    <a href="http://www.npr.org">The Radio</a>
  </p>
EOF
This is how to assign a heredoc to a variable using read -r -d ''. Also, I've changed the actual HTML string to use printf format syntax (e.g. %s) as placeholders:
read -r -d '' some_html_var <<'EOF'
  <h1> Hello %s</h1>
  <p>
    This is a link you should visit:
    <a href="%s">%s</a>
  </p>
EOF
And this is how we use printf, with multiple arguments, to fill out those placeholders in the heredoc string:
printf "$some_html_var" Dan 'http://www.npr.org' 'The Radio'
# Output
# <h1> Hello Dan</h1>
#   <p>
#     This is a link you should visit:
#     <a href="http://www.npr.org">The Radio</a>
#   </p>
Also, make sure you know the difference between starting a heredoc with EOF and 'EOF' (we'll be almost exclusively using the latter version).
Prep
Assuming that you're working from corn.stanford.edu, you'll want to do this:
- Log into corn.stanford.edu
- Create a directory named ~/WWW/placeholders
- Change into that directory
- Close all other browser windows except for this one, and a new browser window (maybe even a separate browser entirely, such as using Chrome to view this tutorial, and Safari to view your own produced webpage) to view the webpages you create
-
Memorize the shortcut keys to navigate your own operating system. Take 5 to 10 minutes to do this, it will be completely worth it and it will help you, not just in this class, but for any other time you use a computer.
On Mac OS X (for Windows, the key bindings are a little different, but similar):
- Cmd + Tab to switch between open applications. Hit Cmd-Tab multiple times to select different apps.
- Cmd + ~ (the tilde) to switch between open windows of the same app, for instance, if you have multiple Terminal or browser windows.
- In Chrome: Cmd + T to pop open a new tab. When a new tab opens, you can immediately type into the URL bar. This saves you from having to use the mouse to click up there.
- In Chrome: Cmd + W to close a tab
- In any browser: Cmd + R to reload the current URL
In order for you to better see cause and effect, between editing/changing HTML and seeing the result on the Web, you want to be able to context-switch quickly, not give yourself carpal tunnel syndrome with your trackpad.
Set up the workspace
Let's make a simple webpage, from the command-line, using a heredoc. Make sure you're in the proper directory:
mkdir -p ~/WWW/placeholder
cd ~/WWW/placeholder
For every exercise, we'll create a new page, and name each one something like ex-1.html, ex-2.html, etc. These pages will be visible on your own Stanford.edu webspace at:
http://www.stanford.edu/~your_sunet_id/placeholder/ex-1.html
Now let's get started.
Ex. 1 - A simple webpage with headline
cat > ex-1.html <<'EOF'
  <html>
  <head>
    <title>A Placeholder Exercise</title>
  </head>
  <body>
    <h1>My Placeholder album</h1>
  </body>
EOF

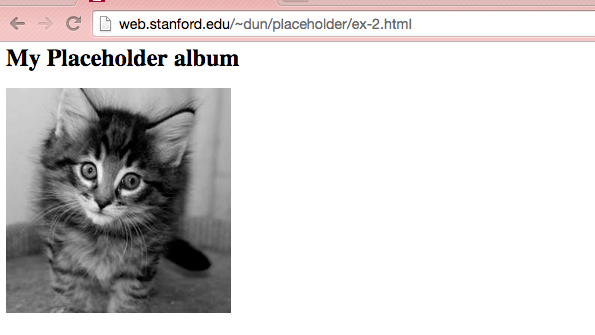
Ex. 2 - Add an image manually
Let's decorate our page using the Placekitten image service. The format for calls looks like this:
http://placekitten.com/g/WIDTH/HEIGHT
So this URL:
http://placekitten.com/g/700/300
Results in this image:
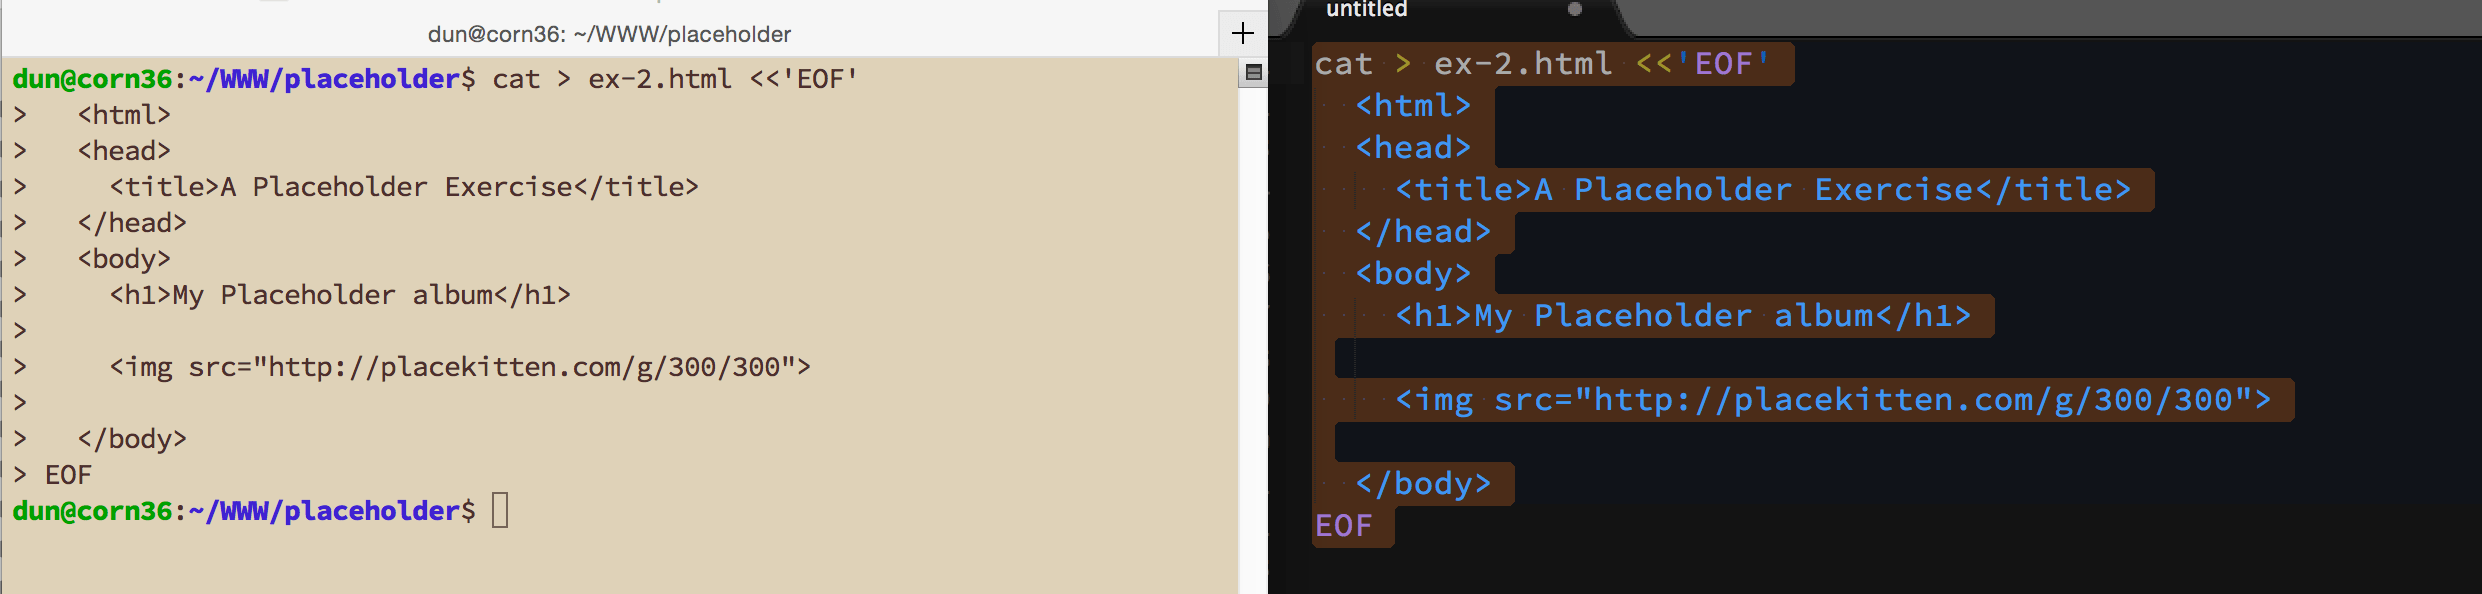
Creating a new page:
cat > ex-2.html <<'EOF'
  <html>
  <head>
    <title>A Placeholder Exercise</title>
  </head>
  <body>
    <h1>My Placeholder album</h1>

    <img src="http://placekitten.com/g/300/300">

  </body>
EOF
The result:
Aside: Changing your workflow for longform text input
If you've been typing the above via the interactive command-line, then you've probably seen that making a single typo will lead to a major inconvenience. For the examples from here on out, I recommend the following alternatives to working with long text files:
Paste from a text-editor
If you've figured out how to use Cmd+Tab to switch between applications (on OSX at least), then this is probably the easiest workflow: Type up your code in a text editor (such as Sublime Text), then copy-paste into the Terminal.
Use nano to create a shell script
If you want to stick to just the Terminal, then at least use the nano text editor to create a shell script. For example, you could paste the code from the previous exercise in a file named ex-2.sh and then execute the script:
bash ex-2.sh
Ex. 3 - Wrap the image in a link
This involves simply nesting the <img> tag in an <a> tag. Let's wrap up the placekitten image so that clicking on it will go to the placekitten homepage at http://placekitten.com and open it in a new browser tab:
cat > ex-3.html <<'EOF'
  <html>
  <head>
    <title>A Placeholder Exercise</title>
  </head>
  <body>
    <h1>My Placeholder album</h1>

    <a href="http://placekitten.com/" target="_blank">
      <img src="http://placekitten.com/g/300/300">
    </a>

  </body>
EOF
There will be no visible difference from the previous exercise. But try clicking on the kitten image.
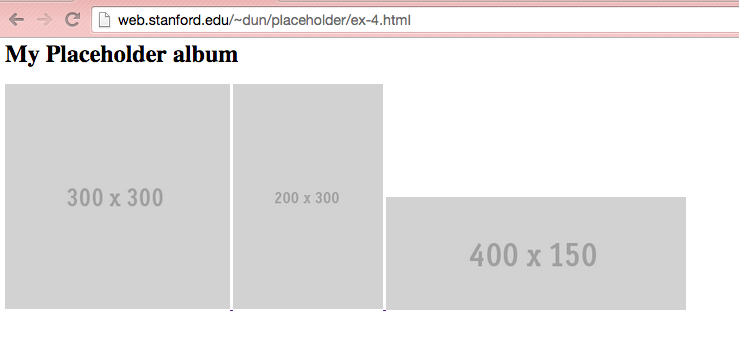
Ex. 4 - Include multiple images
Let's produce a page with multiple-sized images. Note: As of February 2015, the placekitten service seems to have spotty reliability. For now, we'll switch to the placehold.it service, which has this format:
cat > ex-4.html <<'EOF'
  <html>
  <head>
    <title>A Placeholder Exercise</title>
  </head>
  <body>
    <h1>My Placeholder album</h1>

    <a href="http://placehold.it/" target="_blank">
      <img src="http://placehold.it/300x300">
    </a>

    <a href="http://placehold.it/" target="_blank">
      <img src="http://placehold.it/200x300">
    </a>

    <a href="http://placehold.it/" target="_blank">
      <img src="http://placehold.it/400x150">
    </a>

  </body>
EOF
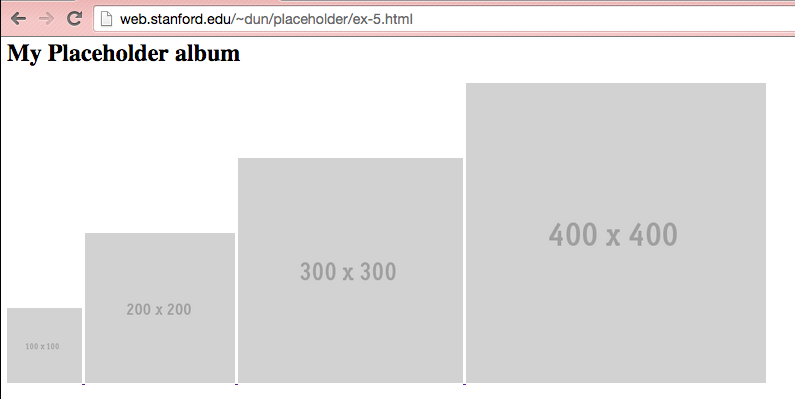
Ex. 5 - Use a loop
Of course, generally we try to avoid any repetition, even if it's as simple as copy-and-pasting. Although I want to stick to the pattern of using printf for HTML output, let's try to produce a page with a for-loop using just cat.
There's many ways to do this, I think it's easier to split the task up into two cat calls and heredocs. Notice in the second call, I don't quote the EOF, which will cause Bash to interpret and expand the ${dim} variable:
cat > ex-5.html <<'EOF'
  <html>
  <head>
    <title>A Placeholder Exercise</title>
  </head>
  <body>
    <h1>My Placeholder album</h1>
EOF

for dim in 100 200 300 400; do
  cat >> ex-5.html <<EOF
    <a href="http://placehold.it">
      <img src="http://placehold.it/${dim}x${dim}">
    </a>
EOF
done
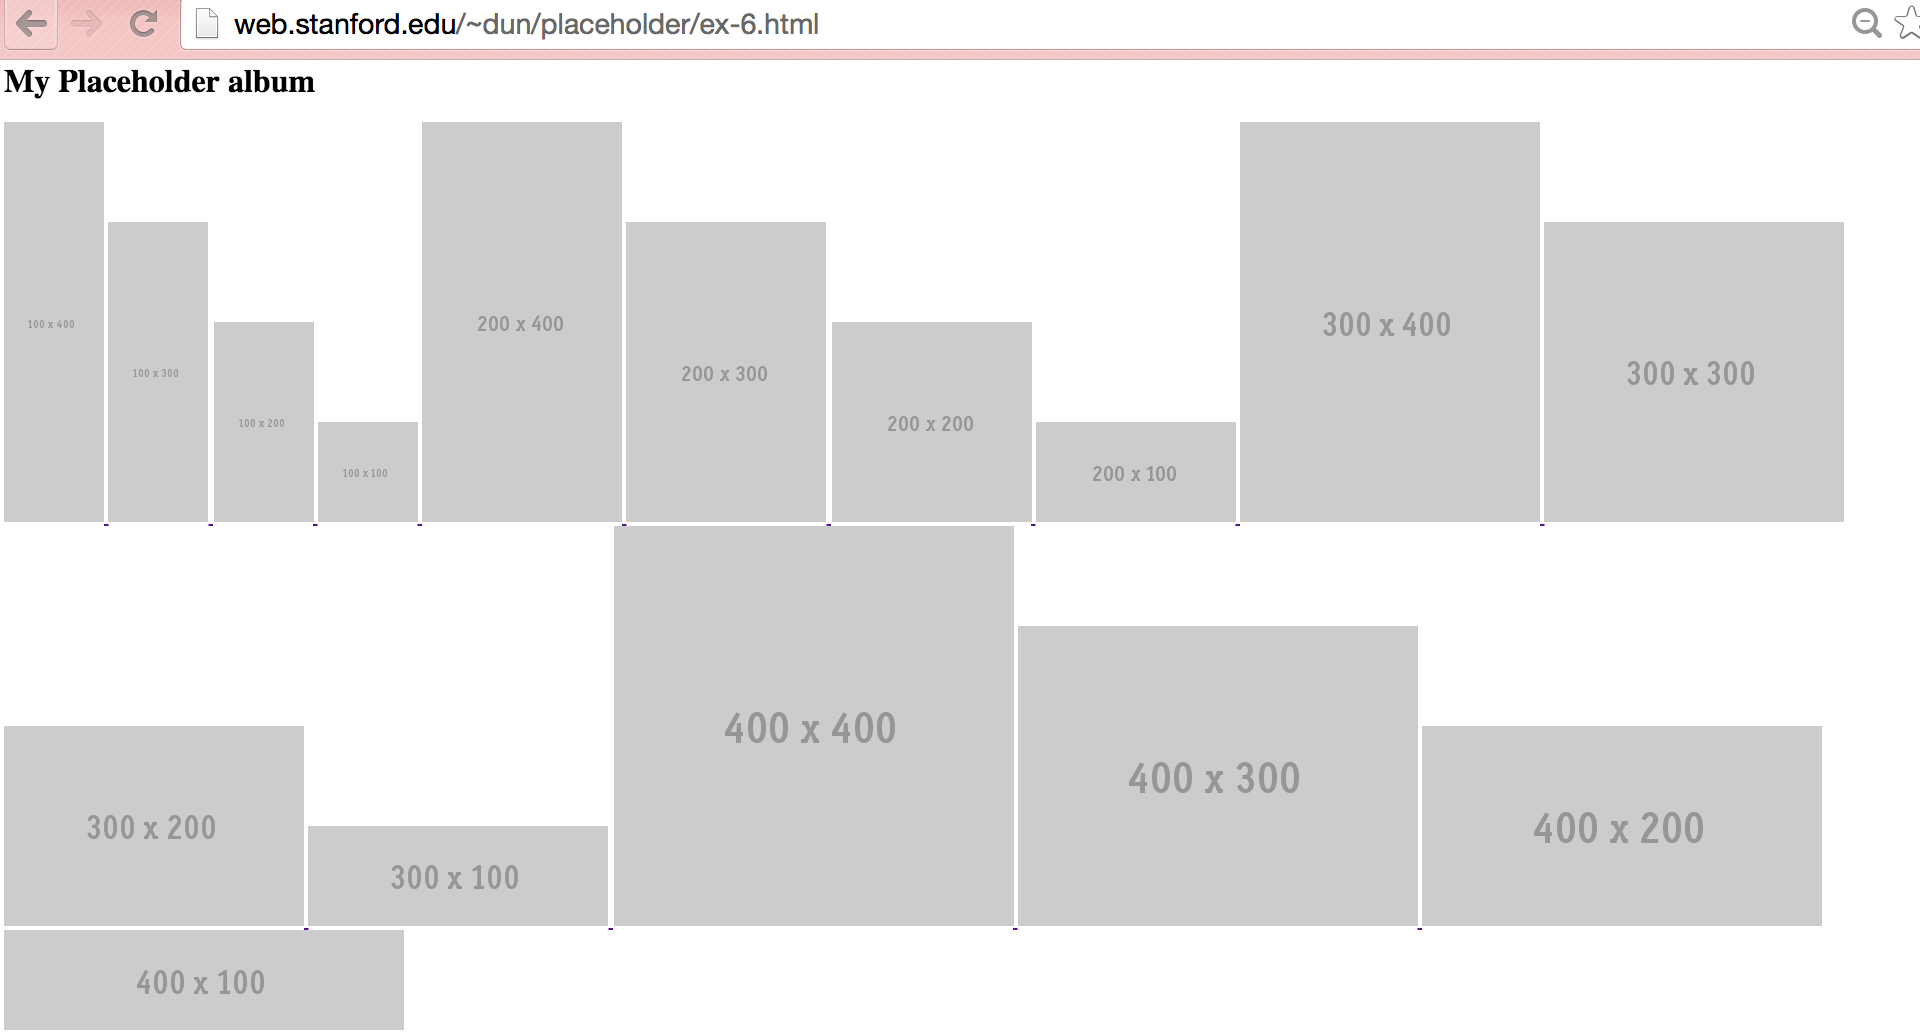
Ex. 6 - Use a loop inside a loop
This is the same deal as the previous exercise, but just to make sure you understand the loop within a loop concept:
cat > ex-6.html <<'EOF'
  <html>
  <head>
    <title>A Placeholder Exercise</title>
  </head>
  <body>
    <h1>My Placeholder album</h1>
EOF

for width in 100 200 300 400; do
  for height in 400 300 200 100; do
    cat >> ex-6.html <<EOF
      <a href="http://placehold.it">
        <img src="http://placehold.it/${width}x${height}">
      </a>
EOF

done
done
Ex. 7 - Using a printf statement
Let's change nothing about the above webpage except for how this HTML is produced:
<img src="http://placehold.it/${width}x${height}">
Let's switch to the printf command, which works like this:
printf '%s, %s' Hello world
# Output:
# Hello, world

printf '%sx%s' 400 300
# Output:
# 400x300
Inserting it into the heredoc inside the for-loop is a bit ugly (and not recommended in actual production), but it works. Try it, and then we'll see how to improve on it in the next step:
cat > ex-7.html <<'EOF'
  <html>
  <head>
    <title>A Placeholder Exercise</title>
  </head>
  <body>
    <h1>My Placeholder album</h1>
EOF

for width in 100 200 300 400; do
  for height in 400 300 200 100; do
    cat >> ex-7.html <<EOF
      <a href="http://placehold.it">
        $(printf '<img src="http://placehold.it/%sx%s">', $width, $height)
      </a>
EOF

done
done
Ex. 8 - Putting a heredoc into a variable
The problem of using the <<EOF-style heredoc is that now we have to be careful that Bash doesn't interpret every dollar-sign (or any other special character) as if it were code…which is a pain to be mindful of for very large web pages. So one solution is to use the read command to assign the heredoc to a variable, and then pass that variable to printf (you can read an elaboration on the technique on StackOverflow):
Note: The read usage contains quite a few things, including options, that we haven't fully explained. I think for now, it's OK to accept it as boilerplate to memorize. The important concept is to understand that we're assigning a heredoc to the variable $aimg_code, which lets us use it later on in the code.
cat > ex-8.html <<'EOF'
  <html>
  <head>
    <title>A Placeholder Exercise</title>
  </head>
  <body>
    <h1>My Placeholder album</h1>
EOF

read -r -d '' aimg_code <<'EOF'
<a href="http://placehold.it">
  <img src="http://placehold.it/%sx%s">
</a>
EOF


# Look how nice our for loop is
for width in 100 200 300 400; do
  for height in 400 300 200 100; do
    # if $aimg_code isn't quoted, then the whitespace will be screwed up...
    printf "$aimg_code" $width $height >> ex-8.html
  done
done
The resulting webpage should not have changed from Exercise 7.
Ex. 9 - Working with data, and the beauty of abstraction
If the above rearrangement of code and new concepts seemed very convoluted, and unnecessary…yes, it was. However, it was necessary so that we can begin to create a more complex page that involves more than one kind of image.
For instance, imagine that someone had created a placeholder-image sites using images of Bill Murray, Nicholas Cage, and Steven Segal. In fact, you don't have to imagine it:
To have a gallery of images (including wrapping each one in the right hyperlink) that alternates between each of these sites might seem like a lot of work and repetition. But with how we've set up our code using printf and read, it's just an alteration of the for-loop (for now, I've edited the loop to just do square dimensions. You can obviously experiment by adding yet another for-loop):
cat > ex-9.html <<'EOF'
  <html>
  <head>
    <title>A Placeholder Exercise</title>
  </head>
  <body>
    <h1>My Placeholder album</h1>
EOF

read -r -d '' aimg_code <<'EOF'
<a href="http://%s">
  <img src="http://%s/g/%s/%s">
</a>
EOF

# Look how nice our for loop is
for dim in 100 200 300; do
  for site in www.fillmurray.com www.placecage.com www.stevensegallery.com; do
    printf "$aimg_code" $site $site $dim $dim >> ex-9.html
    # note, I'm throwing in an extra printf here to make the result
    # HTML easier to read
    printf "\n" >> ex-9.html
  done
done
Note: Because I don't know who are the owners of the original images (and their licenses), I won't include a screenshot of the result. But you can test this code against any other placeholder-image site…the logic is the same.
Here is the resulting HTML code:
  <html>
  <head>
    <title>A Placeholder Exercise</title>
  </head>
  <body>
    <h1>My Placeholder album</h1>
<a href="http://www.fillmurray.com">
  <img src="http://www.fillmurray.com/g/100/100">
</a>
<a href="http://www.placecage.com">
  <img src="http://www.placecage.com/g/100/100">
</a>
<a href="http://www.stevensegallery.com">
  <img src="http://www.stevensegallery.com/g/100/100">
</a>
<a href="http://www.fillmurray.com">
  <img src="http://www.fillmurray.com/g/200/200">
</a>
<a href="http://www.placecage.com">
  <img src="http://www.placecage.com/g/200/200">
</a>
<a href="http://www.stevensegallery.com">
  <img src="http://www.stevensegallery.com/g/200/200">
</a>
<a href="http://www.fillmurray.com">
  <img src="http://www.fillmurray.com/g/300/300">
</a>
<a href="http://www.placecage.com">
  <img src="http://www.placecage.com/g/300/300">
</a>
<a href="http://www.stevensegallery.com">
  <img src="http://www.stevensegallery.com/g/300/300">
</a>
Wrapping up
With jq, we've seen how to read and extract useful datapoints. And now, with printf and heredocs, we see how to print those datapoints into any format we like. This is basically the hacker's version of a quick web framework.
In a later lesson, we'll go over an actual example of moving from JSON to HTML. For now, you can collect your Instagram data (if you have an account), and think about how you might make your own photo portfolio.